Monday, April 18, 2011

Burlap Brooch


HI!!!

Keeping my burlap (or lack of it theme) :0) I decided to make another piece for the burlap contest here and here ( I LOVE CONTESTS!!!). As I love to make rosette flowers ( my Etsy store almost ready to launch, just around the corner, ypiee!) I decided to make a burlap brooch. Easy peasy...

First......take a strip of burlap...in this rosette  I used one 25 inches long and 3 inches wide..

2. Fold in half lengthwise and then, at the beginning  of it fold it in a small triangle shape


3. Fold the top part of this small triangle to the middle and start rolling your burlap. At  each "turn",  fold the most external part again, always directing it to the middle and put a dab of hot glue or fabritac ( fabric glue). You can also  use needle and thread to secure it. ( my oh my,  am I explaining this  in a very complicated way?? SORRY:0( . This is easier  done than said, believe me!...try and you will see!! :0)


4. IMPORTANT: In the very beginning,  hold tightly the bottom part of the triangle you made between your thumb and index finger, and keep this way. Otherwise, the bottom of it will get to "bulky", hummm...not pretty ...

5. Keep rolling and folding your burlap, I can see a rosette already,  so  cute..can you? 

 6. keep up the good work....roll, fold, glue...
 7. more...roll. fold, glue....rosette, rosette, rosette.....
 8. Well, I will not lie, the bottom of it looks like a ( cute) mess... but do not panic!! no no no...

 9. ...Just fold it and ...GLUE IT....you can cut it to but make sure the centre of your rosette is well  attached, otherwise it may unravel..


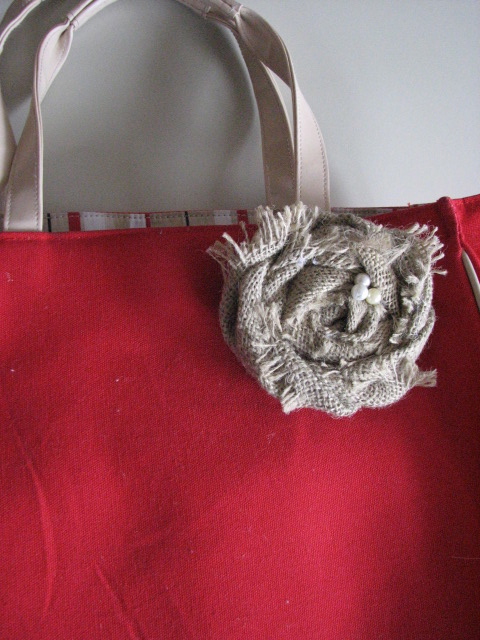
10. Here it is, your beautiful burlap flower ( almost ) ready....but it is a brooch, remember?
so...

11. Cut a felt circle, and hot glue a brooch pin to it...


12. Glue both to the bottom of your flower

13. and YES, embellish it with some cute and feminine thing...in this case I picked beautiful (fake, but yet  beautiful) pearls.


14. You can use anywhere...to beautify an ugly disposable shopping tote or a sad looking canvas library tote bag...a beautiful and simple white blouse......you name it!!


BURLAP RULES!!


DIY Club

Monday, April 11, 2011

Classy girl's necklace

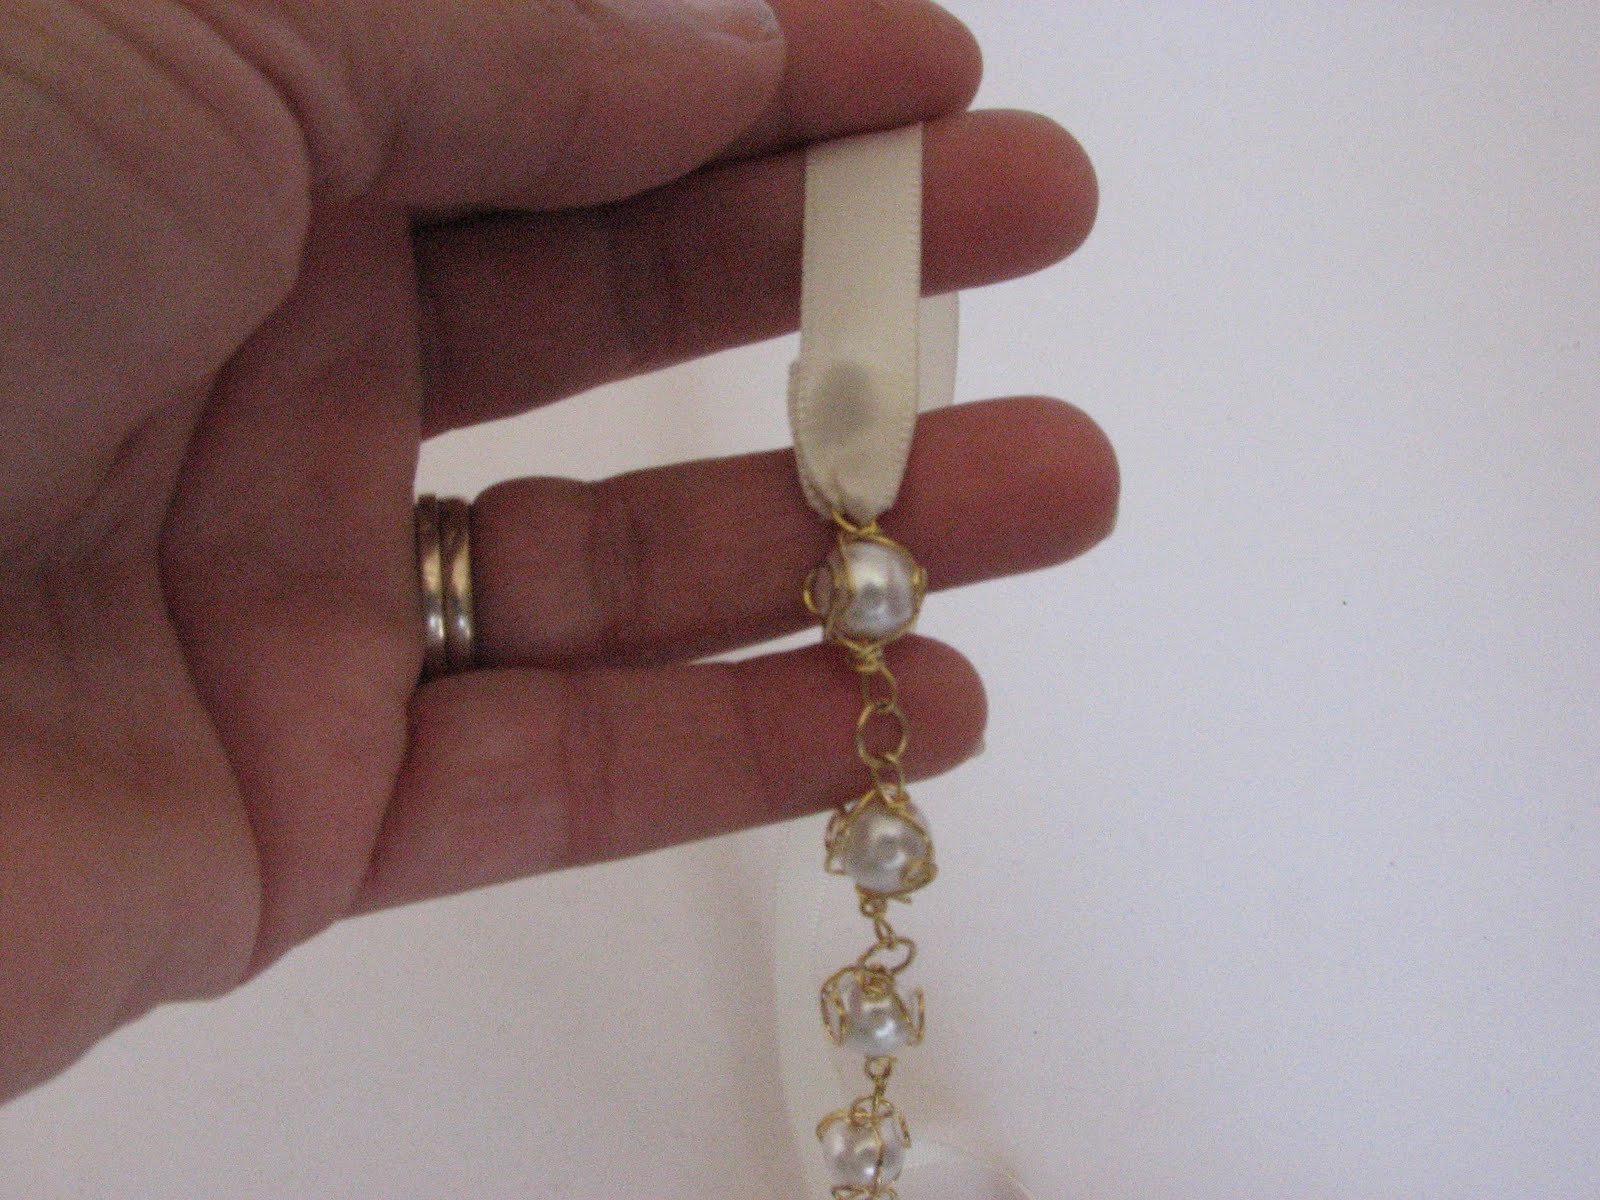
I found this cute bead string at the sale bin at Michael's for 2.99 and thought it would be perfect to make a feminine necklace for my baby girl ( well, she is almost 4....:0).


Just attached a cute shiny ribbon and now she has a beautiful necklace for her sundays outings:0)


It is so classy and she looks so grown up using them...and the most important...she looves it!!


Hope you like it!

Burlap Easter Card

Hey, I finally got some burlap!:0)
And I also found this...humm..very good timing...a burlap contest!! These beautiful blogs  Redberry Barn and Craf-O-Maniac  are guests judges and I am surely sending my bid:0)


I decided to do something simple and cute and useful for the contest:
Last  night, after a little crafty brainstorm I knew what to do...
So, this morning I made this:


An easy Easter card to give my daughter on..EASTER!


All you need:


-Small piece of burlap
-Small piece of jute yarn
-Glue
-Pencil
-A blank card
-Some jelly beans


1. with a free hand draw a basket


 2. Cut a piece of the yarn and glue it on the card, it is  the top part of the basket. Cut the basket carefully (burlap is a tricky boy). Glue it to the card


3. Start gluing the jelly bean ( your eggs!!). I used hot glue


4. More jelly beans....


 4. And the Easter card is ready!!


Hope you liked it!:0)

Sunday, April 3, 2011

Jute Yarn Key Frame

Since I bought these antique looking keys at Michael's for $1.50 each I wanted to frame them. Oh well, they are all over the craft/blog world and they are beautiful after all.
Today, when finally I sat down to make them I realized I did not have an important part of the project.... burlap, to use as the mat. Humm...And I wanted these frames done TODAY as I want to have my craft room finished, at last ( we moved 2 years ago and this has been a work in process).
I decided I was going to use paper, maybe cute scrapbook paper, even thought of fabric, but, when I went  downstairs ( TRUE!!:0)  to get my glue gun........................... .........I......saw.......THEM!!!!!!!


I had this A-HA, "light bulb"  moment and I knew I had to use this....jute yarn! I had tons left from a Christmas project I did last year ( with  styrofoam covered balls).


I did...and they turned out beautiful in the end ...I love them!


All you will need:


- Jute yarn/twine
-Hot glue gun
-Pencil
-Picture frame
-Old or antique looking  keys
-scissors


The frames: I bought them at dollarama for $2 dollars each. They were that ugly brown colour but had a nice texture to them, I gave them 2 coats of cheap white craft paint, a bit of sanding to give them that antique look I love and here it is:


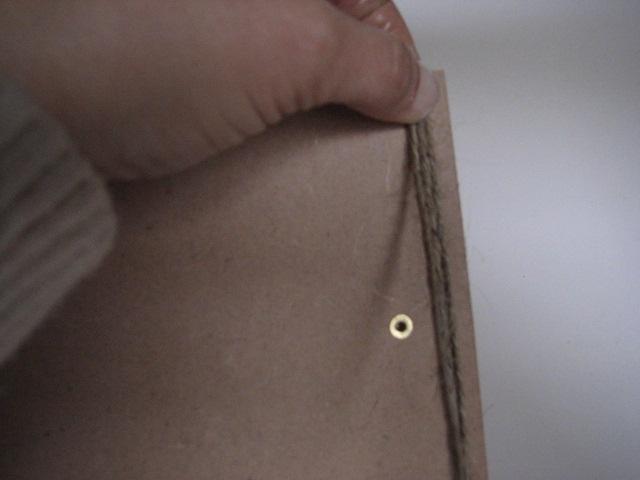
1. First, mark the bottom and upper inner edge of  frame onto the back part


2. Remove the back part. It is where you will wrap the twine


It will look like this:


3. Put  your finger where the mark is and start wrapping the twine, after securing this end wit hot glue


4. Continue wrapping the twine. Every 5th or 6th loop put a dab of hot  glue for extra tightness


Do not forget to let the hanger free while you are wrapping the yarn


At the end it will look like this


5. Put this back part back into the frame. You might need to give it a little push, but it will go back in place easy


The  back view...


.....Front view


6. With the hot glue gun attach the key...and "voila"!!


I  liked it so much and it is so easy to make, that I made another one right away, seriously it takes 5 minutes!

And here they are already hung on my craft room wall!


Hope you all liked and  feel an itch to do it  too!