Since we moved to this house 2 years ago I wanted to give my little princess a beautiful big girl's bedroom.
BUT I had to this on a budget, which was not bad all because I simply LOOOOVE to go to second hand stores and hunt for hidden treasures. And I had idea of exactly what I wanted, so I knew it wouldn't be so hard AND it would be fun! It was and we ( me and her) love the results!
Sorry again if do not have the "before" pictures, as back then ( 4 months ago) I didn't know I would have a craft blog to show it!!)

Believe me, 90% of this bedroom was done with thrift stores /revamped things or DIY decor details!
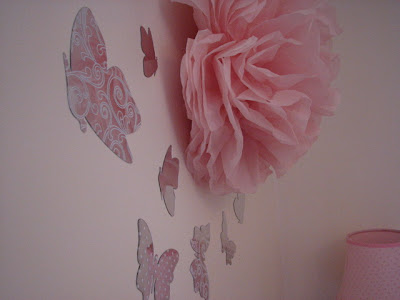
The only really new stuff here are the bedding , from Winners, the reading chair ( it was her first christmas gift 2 years ago, also from Winners), the butterflies on the wall..WINNERS ( do I need to tell I love this store?), the mattress and the lamp base, from Zellers ( not the lampshade!!)
So, here we go:
1. Bed: from the thrift store, for $ 19.99, very romantic the way I wanted it, white AND already distressed:0)! ( we bought new boxspring/mattress of course)

2. Wood carving detail: Michaels, $3.99 , painted and distressed by mommy
3. Lampshade: Pink with cute polka dots bought at the thrift store for $4.99
4. Dresser: bought ugly , cheap ( $69.99) and dark navy blue at the thrift store and transformed into this beauty! see details here
5. Chandelier:
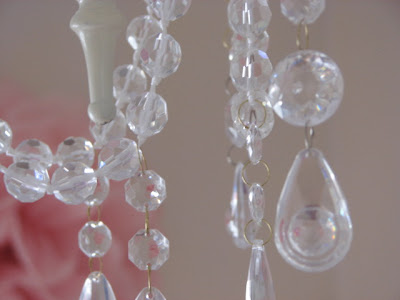
It was silver and no lampshade and of course no beautiful dangling crystals, from Canadian Tire, I think it was $39.00.

The shades I bought at Walmart for 4 bucks each and made the rosettes out of satin left overs; the little crystals ( plastic) are from little gift bags from dollarama, 1 dollar for a pack of 4). I just cut them off and used my trusty hot glue gun to attach them to the lampshades.Also attached a cute pink ribbon on the bottom.
With Ivory spray paint from kryllon ( I primed first) I painted the cold silver colour with this warm cream colour that matches the wall colour.
The dangling crystals come from 3 sources:
- from an old chandelier a friend was throwing away ( can you believe and they are real crystals!)
- from christmas sale at canadian tire ( I still don;t know why they were there being sold- 99 cents a pack with 4) as tree ornaments?? come on , they were MEANT TO BE a little girls room chandelier beauties!
- Cheap necklaces sold at claire's
6. Dress up clothes hanger: also from the thrift store..originally meant to be a ballerina play rail but I thought it was very flimsy . It was purple and with some light pink plastic spray paint it is now, well, a feminine dress up hanger !
7. The perfect little bookcase:
From where ....guess? .....yes, thrift store...$19.99....sooo delicate and functional! and the gander..hum..so many possibilites...
8. Cheap BUT very cute fabric from fabricville: 99 cents/meter, it is like a shear but has cute polka dots on it..even me that I am not at all a sewing diva could make these drapes!
The curtain holders are door knobs i brought from Brazil last time I went there, aren't they amazingly cute?
On the ugly vinyl roman shade why not a cute pom pom trim? yes yes yes!
8. other details:
- Tissue paper flower, you can find a tutorial here
9- Mommy's old (very old indeed !:0) little shoes... touch of vintage AND sentimental...
- From the thrift store a cute mug and plate to hold some hair clips
- This doll (also from Brazil) used to hold her diapers by her crib..now holds her ballet gear...she grew up , uh? )
And here she is..teh happy little princess that lves on this bedrooom eradung her favourite book:

Andrea